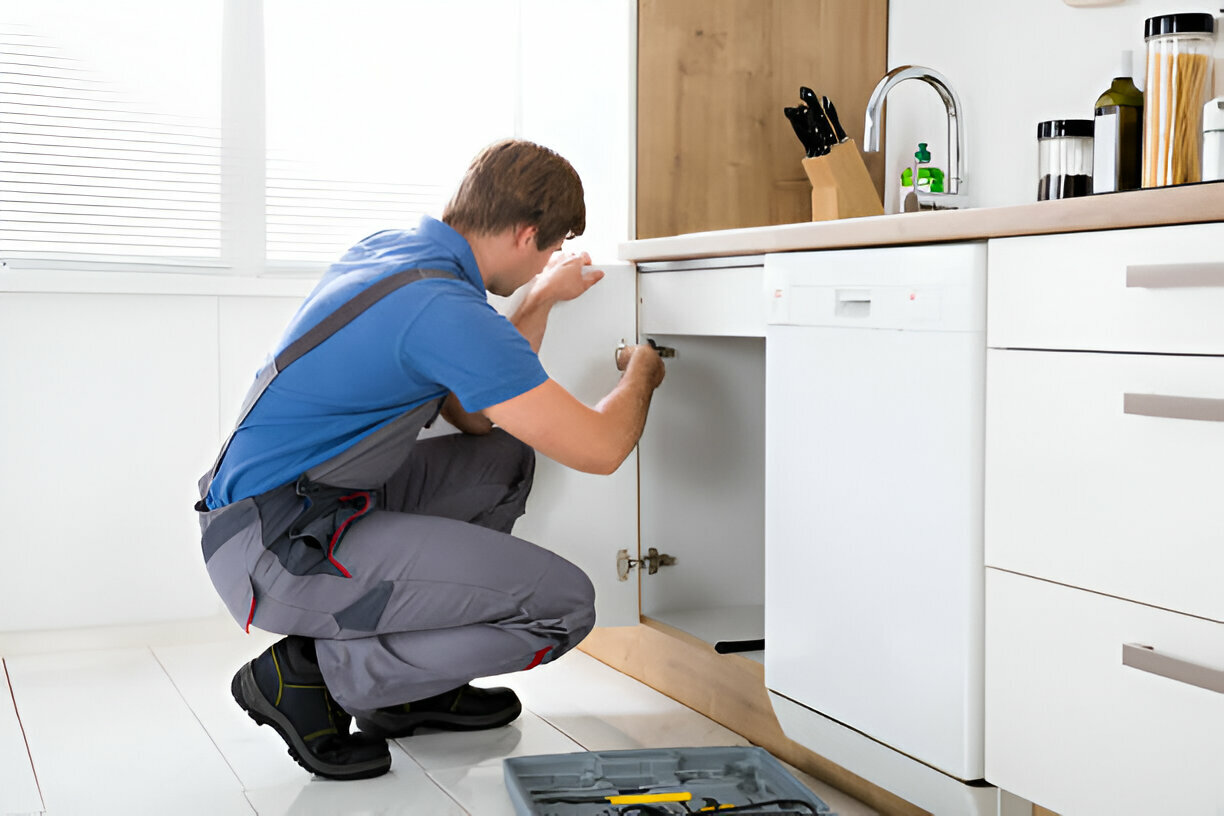
Water Damage to cabinets can have various effects, such as flaking paint or wood bubbling up and degrading. This is due to high moisture in the air and the potential leaking of water from your sink. Furthermore, you may also discover that the laminated surface is starting to come off. To quickly deal with repairs, here are the steps for repairing kitchen cabinets with water damage.
9 Step-By-Step Guide
Tackle water-damaged cabinets in 9 steps, which are as follows;
Step one: Preparations
To ensure a seamless repair, it is important to prepare the damaged cabinet doors for fixing. First, remove the doors and put them on a clean and tidy surface where there are no other objects. This way, you have enough room and do not accidentally scratch or paint the surface with a tool.
Step Two: Prime for Perfection
A Shellac-based primer is the best to use since it will help to fill any minor imperfections on your cabinet doors. Apply 1-2 thin coats to the affected areas to ensure a level playing field. This primer prepares the surface and helps the paint adhere well to it, giving the intended look and longevity.
Step Three: Use Plastic Wood Filler
Particle board cabinets should be sanded to smooth the surface before painting. Use plastic wood filler on deeper scratches or on compromised areas of the furniture. This covers the gaps and makes a smooth surface for a perfect, polished look that looks professional.
Step Four: Sanding the Damage
Sanding is the key to success in cabinet construction! Sand the water-damaged door with 120-grit sandpaper or a finer one if the previous one does not produce a smooth surface. Sand it by hand or use an electric sander to make the process faster.
Step Five: Repeat the Previous if Needed
If you want a perfect surface, you can go back to step 2 to step 4 as many times as necessary until the cabinet door is smooth. For now, just focus on returning the wood surface to normal; don’t worry about color yet.
Step Six: Paint over the Repairs
Revamp your kitchen cabinets in a jiffy with these painting tips. After the repair, you can paint with the chosen color or paint type. It is also important to note that drying times differ. While it is safe to apply the second coat of oil-based paint after 2 to 4 hours, it is advisable to do so when there is enough time for the paint to dry.
Step Seven: Sanding Once Again
It is important to point out that it should be smoothed out after the painting has dried. If the surface is glossy, sand with fine-grit sandpaper. This is to smoothen the paint texture, not to eliminate the wood grain. Sanding provides small grooves; therefore, it is advisable to apply less pressure for a smooth surface.
Step Eight: Final Coat of Paint
Achieve a flawless finish! Paint the piece and allow it to dry thoroughly, then scuff it up with 220-grit sandpaper. Use it for additional passes or for areas that may have been missed. This makes the paint even and gives it a professional look.
Step Nine: Apply Waterproofing Seal
To complete the process, protect your cabinets using a waterproof varnish or seal. This does not make you immune to future water problems, but it certainly helps to have some form of protection. It can also add a few more years to the life of the repaired cabinets.
In Conclusion
Preventative measures are key, as water damage can be a hassle. However, professional restoration exists. Remember, home renovation protects not only your cabinets but your entire home. We recommend CR Builders.
Contact CR Builder for Complete Home Renovations
CR Builders are a professional crew of contractors that provide various services—such complete home renovation, solar panel installation, and home interior and exterior repair and installation. So, what are you waiting for? Contact us today.


